How to take the best photos of your skin lesion or rash
Information on how to take the best photographs of your skin lesion or rash.
On this page
Background
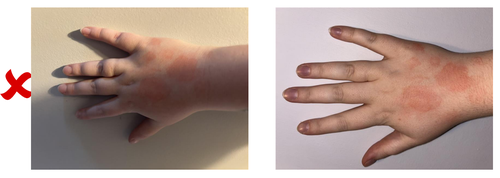
- A plain background such as a wall, door or piece of paper should be used to remove distractions. This will also help your cameras autofocus
- Keep the relevant body part flat against the background
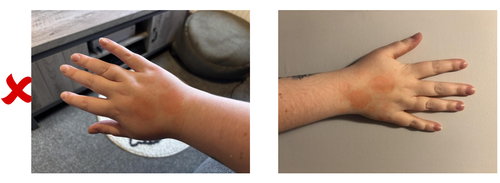
Lighting
- Using the flash on your camera is recommended to illuminate the area of interest and achieve a clear image
- If this is not possible, try using other light sources such as a ceiling light
- Make sure there are no shadows covering the area of interest
Required Photographs
1. Image showing the lesion/ rash location on the body
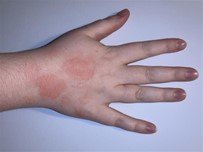
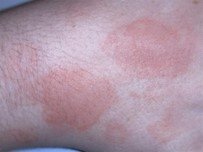
2. Image showing the lesion or rash
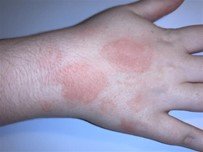
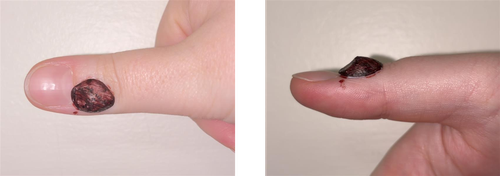
3. Close up image of the lesion or worst area of the rash
Additional Photographs
- If the area is raised, consider taking a photograph from the side to demonstrate this
- Use the autofocus feature on the camera to ensure your image is sharp. If the image is blurry, the clinician will not be able to use the image. Try moving the camera further away if you are struggling to get a sharp image
E-mail your photographs to the Medical Photography department at GHNHSFT:
Ghn-tr.ghnhsft.medphoto@nhs.net
Include your full name and date of birth in the subject line.
Information:
We also require consent to store your images on your medical records.
Please type the following into the email:
Your Name (Patient’s name)
I consent to the attached images being stored as part of my health record for monitoring purposes only. For under 18-year-olds, please add the parent’s name.
Printable version of this page
How to take the best photographs of your skin lesion GHPI1577_12_25
Department: Dermatology
Review due: December 2028
PDF, 4.3 MB, 8 pages
Reference number
GHPI1577_12_25
Department
Dermatology
Review due
December 2028